Okta SSO Integration
Last updated: August 14, 2026
This guide walks you through configuring Okta single sign-on (SSO) for Nooks, so people in your organization can sign in using their Okta-managed credentials.
Prerequisites
Before you begin, make sure you have:
Access to Okta admin console
Supported Features
Service Provider (SP)-initiated SSO: Users start the sign-in process from the Nooks login page and choose to sign in via SSO.
Configuration Steps
Follow the steps below to connect Okta as your identity provider for Nooks.
Open the Okta dashboard, navigate to Applications → Applications and press the Browse App Catalog.
Search for Nooks in the App Catalog search bar, open the its page, and click Add Integration.
Complete the integration steps, which will take you to the Assignments page of the newly added integration. After assigning people or groups within your org to this integration, go to the Sign On tab, and take note of Client ID and Client Secret under OpenID Connect.
Have the following four values on hand:
Client ID
Client Secret
Okta domain of your org (which can be found under the dropdown on the top right; looks like ***.okta.com) and
Your company’s email address domain (i.e. whatever’s after ‘@’ in the email addresses in your org)
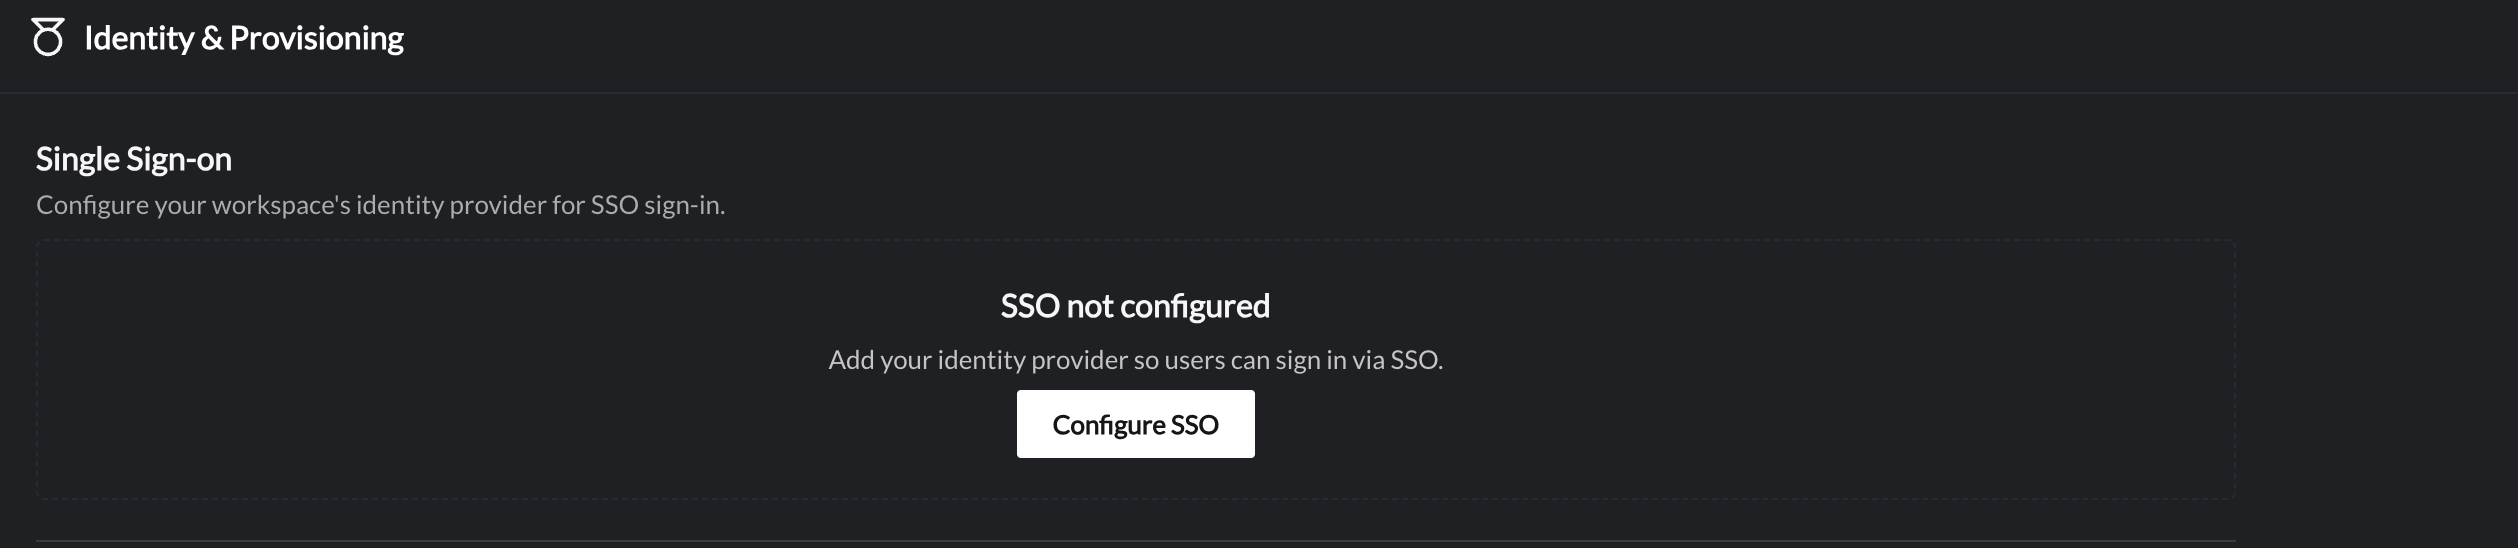
In Nooks, go to Settings →User Management → Identity and Provisioning and click Configure SSO.
Select OIDC and enter the values from step 4 noted in step #4 above into the corresponding fields:
Issuer URL
Client ID
Client Secret
Allowed Email Domains (comma-separated)
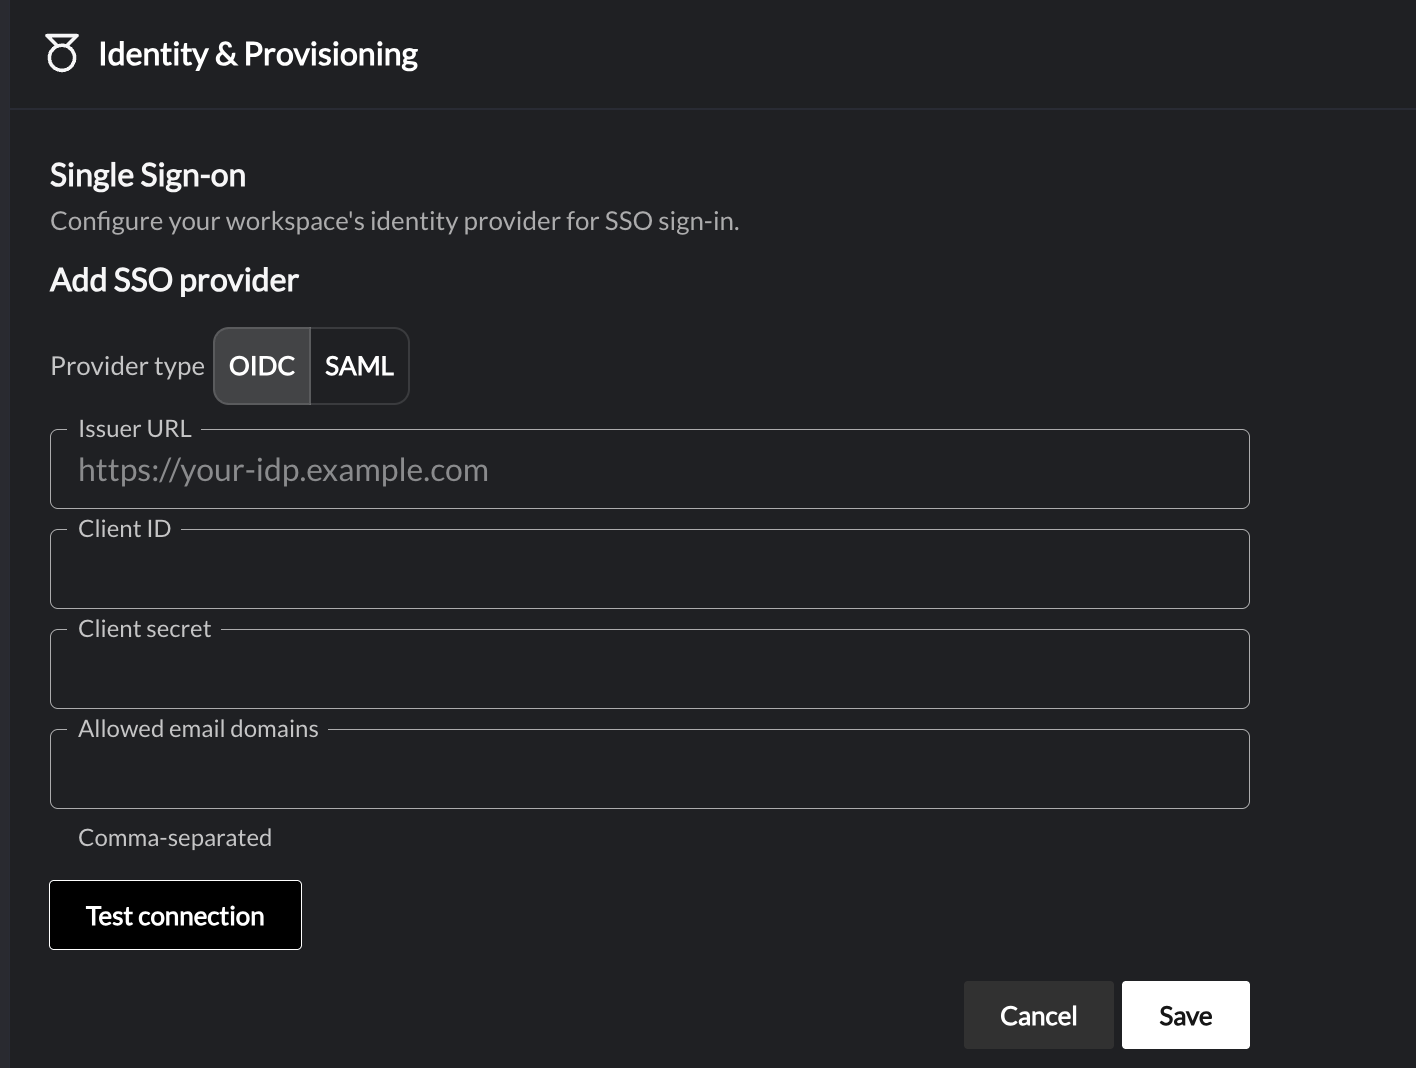
Press Save.
[Optional] Setting Up an Okta Tile for a Seamless Login Experience
By default, adding Nooks from the Okta App Catalog creates a tile in your users' Okta dashboard. However, launching Nooks directly from that tile triggers an IdP-initiated flow, which Nooks does not currently support, so users who click it will hit an error.
To give your users a working tile without this errors, keep the integration configured as described above, but point them to a separate Okta Bookmark App instead of the default tile.
Recommended Setup
To use a tile setup, follow the setup steps below.
Keep the Nooks integration configured in Okta as described in the Configuration Steps above.
Hide that app's tile from end users in Okta so they do not launch it directly. See these steps for how to do this.
Create a new Okta Bookmark App through these steps. Input the following values, then click Done.
Application Label: Nooks
Add a logo to the tile. A couple of logo options are provided below.


Assign the Bookmark App to the users or groups who should see the Nooks tile.
Have your users launch Nooks from the Bookmark App tile, rather than the hidden integration tile.
Logging in to Nooks with Okta (SP-initiated SSO)
Once configuration is complete, the users you have assigned to the Nooks integration can sign in either by going directly to the Nooks login page or by clicking the Okta Bookmark App tile, if you've set one up.
From the Nooks login page, users select "Log in with SSO", enter their company email, and sign in with their Okta credentials in the popup window that opens.
Note: Nooks does not support disabling the Google/Microsoft authentication on the login screen to restrict users to SSO only.
SCIM Provisioning
SCIM provisioning is configured separately from the setup above. Once your SSO sign-in flow is working, you can configure SCIM as its own Okta provisioning app using the SCIM base URL and bearer token provided by Nooks. See our Nooks SCIM User Guide for details.
FAQs
Why are users getting an error when logging into Nooks from the Nooks tile in Okta.
This happens because Nooks doesn't support IdP-initiated logins. Users need to sign in from the Nooks login page instead. To prevent users from hitting this error, we recommend hiding the Nooks integration tile in Okta.
If you'd still like users to have a tile to click, set up an Okta Bookmark App that routes them to the Nooks login page. From there, they can select Log in with SSO, enter their company email, and sign in with their Okta credentials.
Contact
If you have any questions, please do not hesitate to reach us at support@nooks.in.